

Step 1 – Search and Add Layers
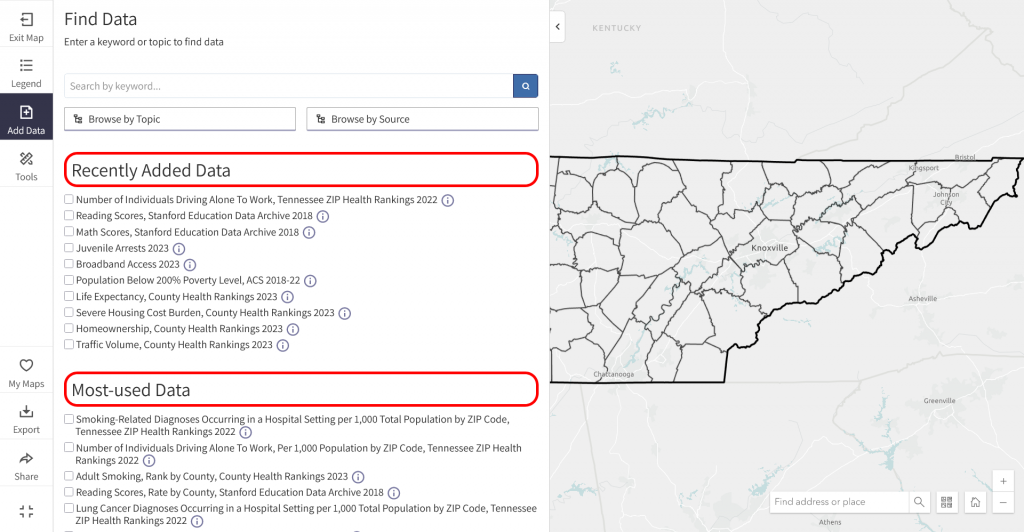
When you enter the Map Builder, you will be prompted to add data to your map (Figure 1). In the Find Data menu, explore data Recently Added by the exploreTNhealth and Most-Used by others on exploreTNhealth.
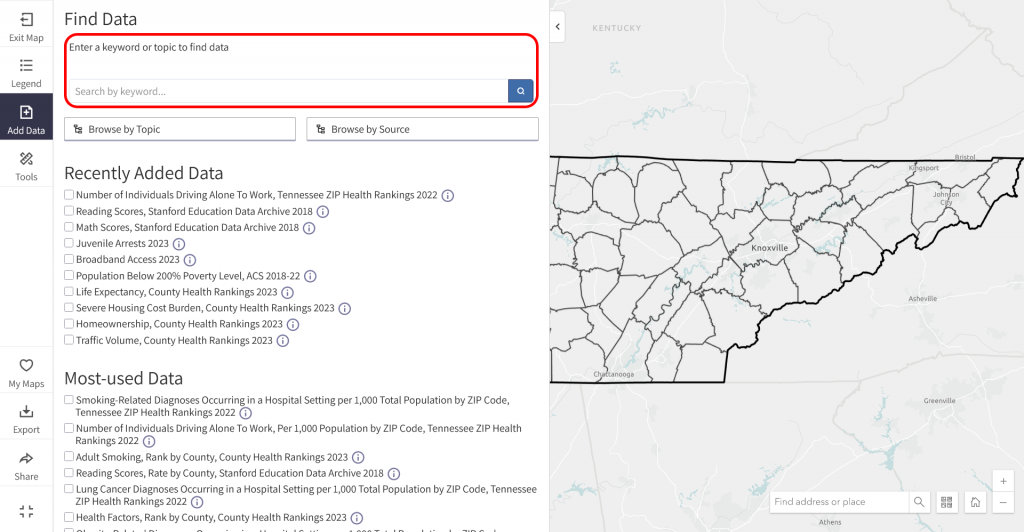
Search map layers by keyword by typing in the search bar (Figure 2, circled in red).
Try key words such as Food, Poverty, Hospital, Housing, School, and Family.
For best results, we recommend typing general 1-2 word phrases rather than full sentences.
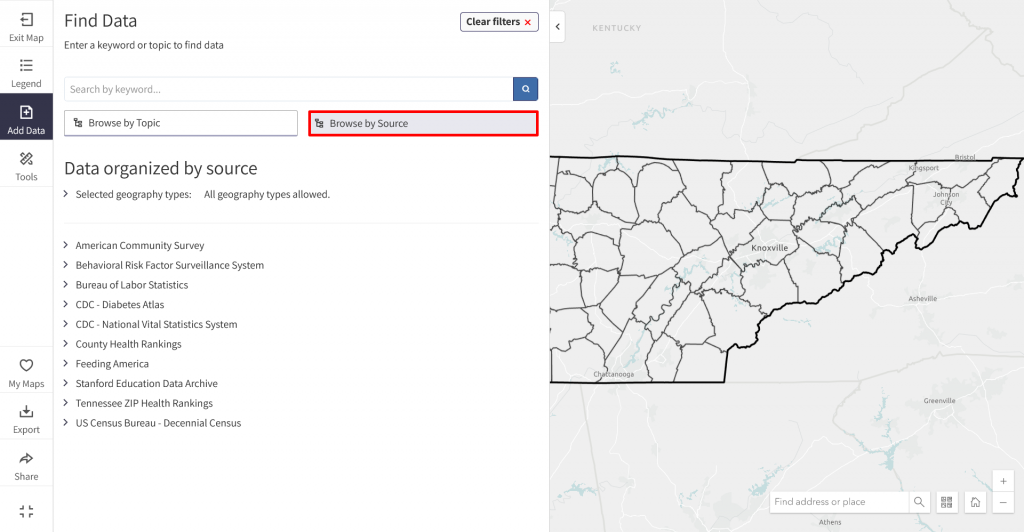
You can also search for map layers by data source by clicking the “Browse by Source” button (Figure 3, circled in red).
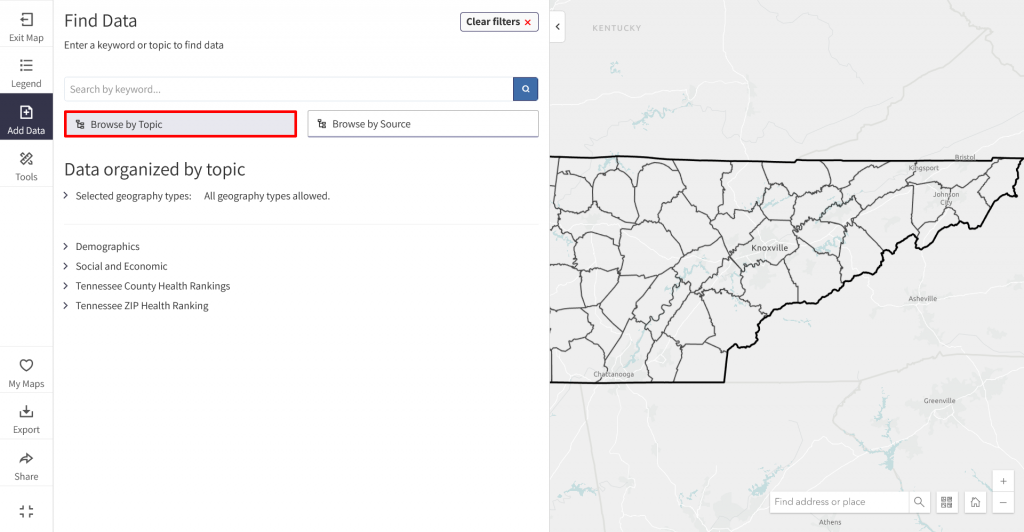
Or, search layers by topic by clicking the “Browse by Topic” button (Figure 4, circled in red).
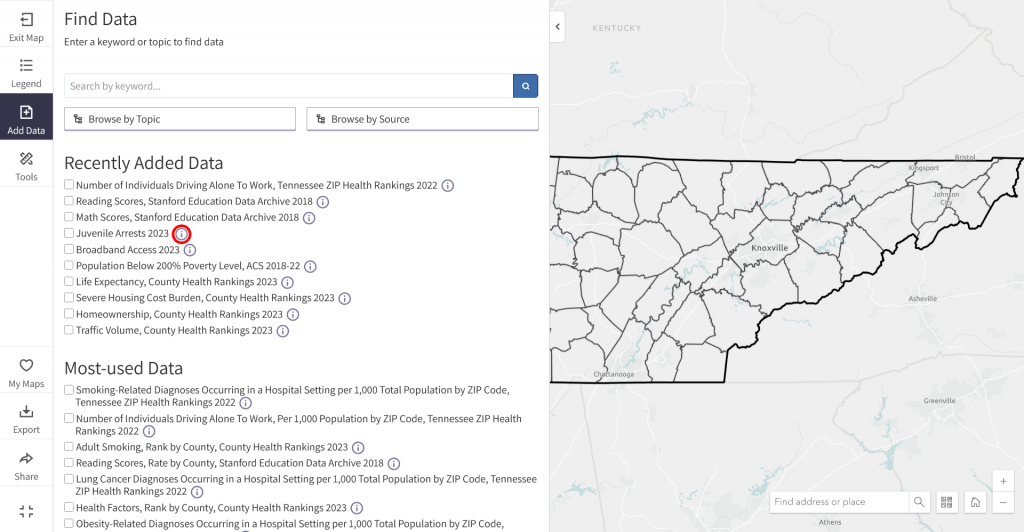
To learn more about a map layer before adding it to your map, simply click the (i) beside it (Figure 5, circled in red).
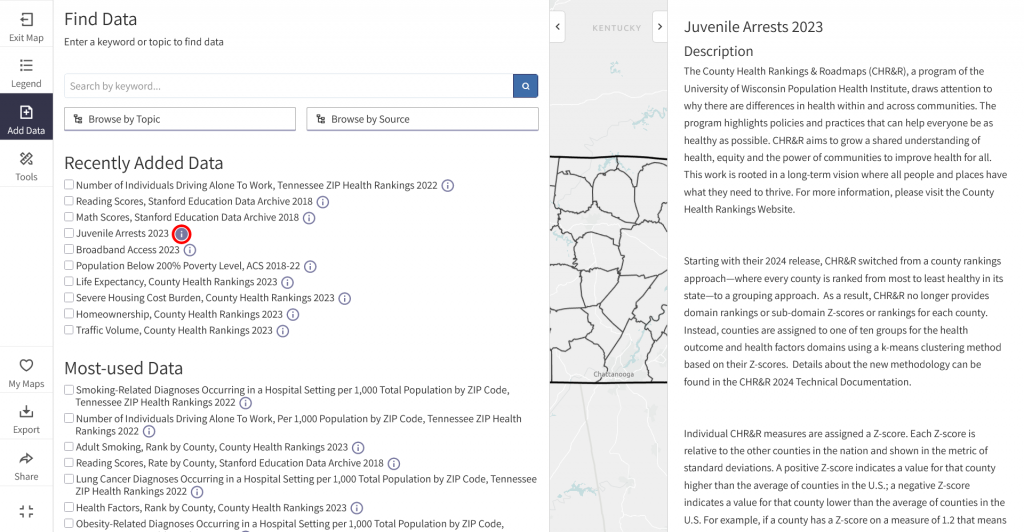
A popup on the right side of the screen will provide information on the map layer’s data source, collection year, and more (Figure 6).
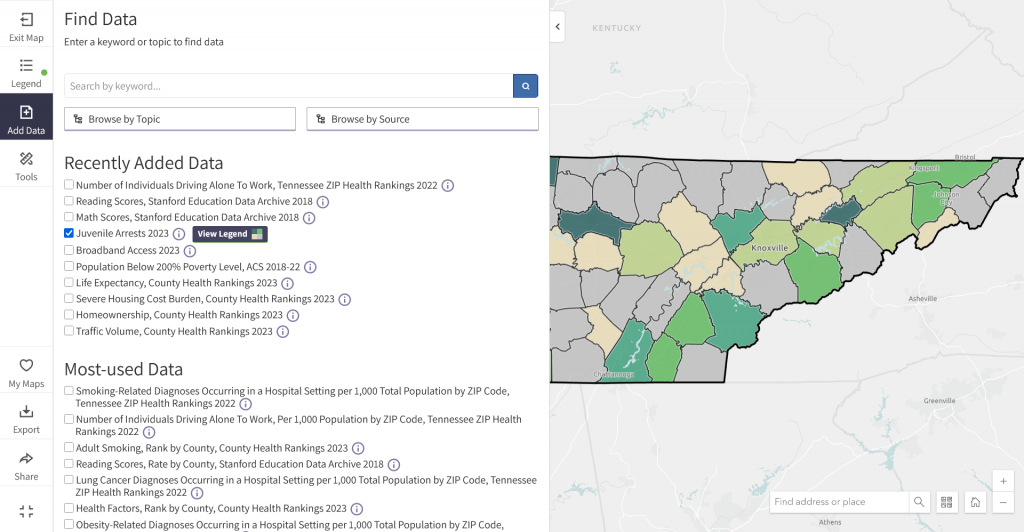
Click the checkbox beside your map layer of choice to select it (Figure 7, circled in red). Once selected, it will automatically be added to your map.
Step 2 – Interact with Your Map
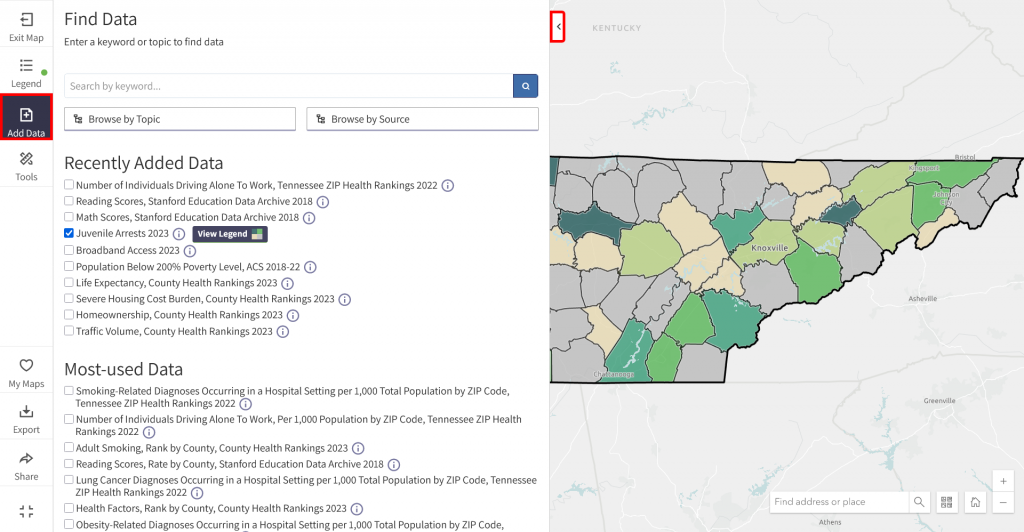
To minimize the Add Data menu and fully view your map, click the “add data” button or the arrow on the top right corner of the interface (Figure 8, circled in red).
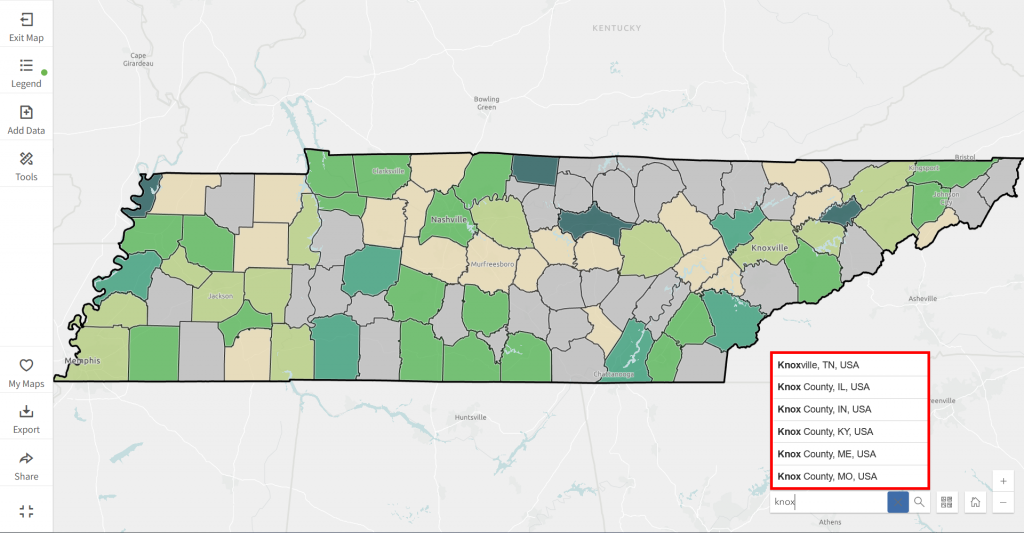
Use the location search bar on the bottom right to search for a specific county, town, ZIP code, or address (Figure 9, circled in red).
You can also zoom in and out manually, or by using the + and – buttons in the bottom right corner of the Map Room.
Once you’ve refined your area of interest, it’s time to explore.
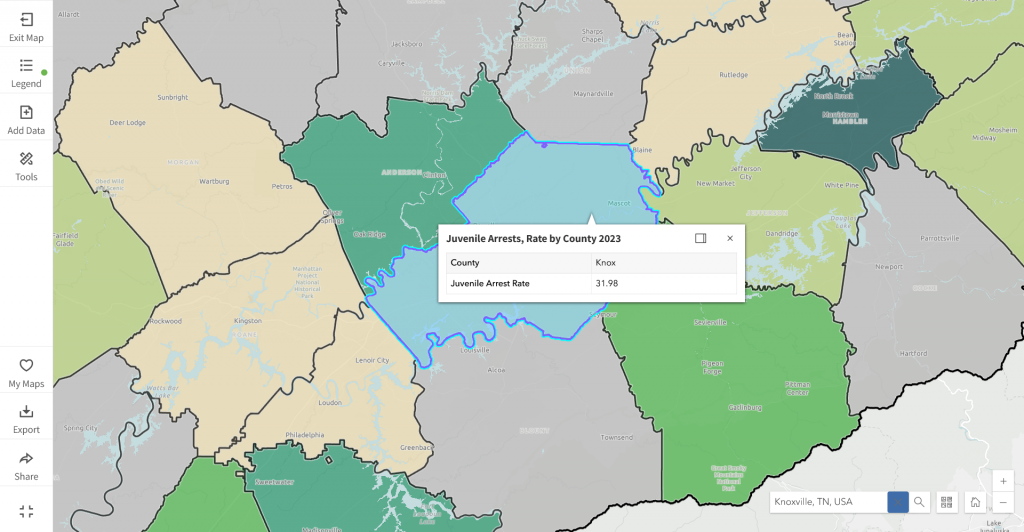
Click on any part of the map to view additional information about the map layer as it pertains to the location on which you clicked (Figure 10).
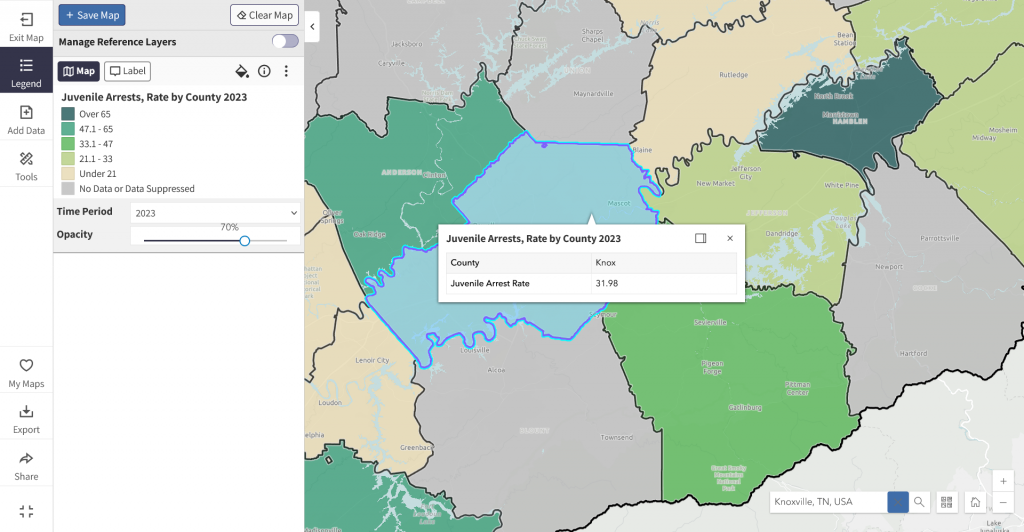
Next, click the legend button in the menu on the left side of the screen to explore and customize your map layer (Figure 11).
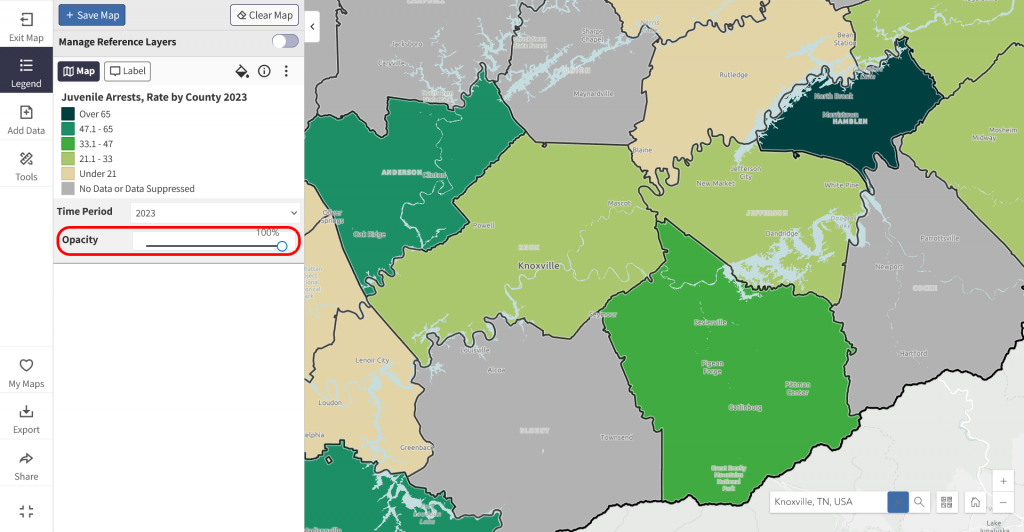
Adjust the transparency of your map layers using the “Opacity” slider in the legend (Figure 12, circled in red).
When available, explore your map layers’ geography options by clicking the “Geography” dropdown (Figure 13). Common map layer geographies include state, county, ZCTA, Census tract, Congressional district, house district, and school district-level.
Clicking each option will alter your map to show data according to your selected geography level.
Step 3 – Save, Share, and Download Your Maps
To save your map to your exploreTNhealth dashboard, click the “Save Map” button in the top left corner of the legend (Figure 16).
If you are not already logged into your exploreTNhealth account, you will be prompted to do so. Then the Manage Maps window will open. You will be prompted to add a title and description for your map.
Click the Save Map Button to save your map to your exploreTNhealth account (Figure 17).
To re-access your saved maps in exploreTNhealth, ensure you are logged in, then select the “My Maps” button in the left menu (Figure 18).
You will return to the Manage Maps window, where you can explore previously saved maps and save or update your current map.
To share your map as a link in an email, via social media, or to copy its shortlink, click the “Share” button in the bottom left menu (Figure 19).
Finally, to download your map, click the “Export” button in the bottom left corner of the Map Builder.